Per Axis, Per Feature. Let's go!

So you want some speed, huh?

Before we get into the how to do this, I want to explain what this does at a basic level to make sure it's even worth your time. This allows you to independantly control the acceleration of the X/Y axies on your CoreXY, Cartesian, or (untested) CoreXZ printer. If you aren't one that wants to get more speed, aren't even close to the limits of what you can print with your printer currently, or just don't like to tune your printer, please stop reading now. Hope you have a wonderful day!

Ok, you still with me? Let's get going then.

What does this involve doing at a high level?

Don't run away scared as it is actually quite simple to set up. We'll be pulling in a new file into klipper that offers you a new set of kinematics in software. By default, it won't change anything at all, and just adds new functionality to the defaults, and we'll go through the basics of what you can do with it if you choose to play further with it, but you won't need to understand much of how it actually works to get easy gains.

Second, we are going to install a gcode post processor. This is just a bit of code that you won't have to have any clue how it works. We'll go through how to install it so your slicer does all of the heavy lifting for you!

Third, we will add a few special comments to your start gcode in the slicer so the post processing code knows what to set your accelerations to. It's mostly copy paste, and just change numbers, and is no harder than setting up per feature acceleration in your slicer that you are already using.

Getting new kiematics!

If you have ever used a quickdraw probe, or installed macros from someone else, this is quite similar. We'll be grabbing a file, and saving it to ~/klipper/klippy/kinematics/. If you prefer a command line, here are some instructions for each kinematics.

Command line install method

For this, you'll want to SSH into your printer (usually a pi), and run the correct command for your printer. Don't worry if you run the wrong one as it won't hurt anything. You'll just want to make sure you also run the correct line to make sure you have the file you'll need.

CoreXY

curl https://raw.githubusercontent.com/kdb424/klipper/peraxis-kdb/klippy/kinematics/limited_corexy.py --output ~/klipper/klippy/kinematics/limited_corexy.py

CoreXZ

curl https://raw.githubusercontent.com/kdb424/klipper/peraxis-kdb/klippy/kinematics/limited_corexz.py --output ~/klipper/klippy/kinematics/limited_corexz.py

Cartesian

curl https://raw.githubusercontent.com/kdb424/klipper/peraxis-kdb/klippy/kinematics/limited_cartesian.py --output ~/klipper/klippy/kinematics/limited_cartesian.py

GUI method.

For this you'll want to use the file explorer in your printer's file manager. Navigate to the ~/klipper/klippy/kinematics folder. Click one of the following links for COREXY COREXZ CARTESIAN copy all of the text, and save it to a file named limited_corexy.py limited_corexz.py or limited_cartesian.py depending on which link you clicked. The instructions are also in the file if you ever forget, or want some more information.

Using your new kinematics.

So you grabbed the files for your new kinematics, but they aren't doing anything. We need to do some basic setup. For each machine, basic setup instructions are found in the files your downloaded. You don't have to understand any of the scary code, but it tells you in the comments how to switch over to the kinematics for your recpective machine. The important bit is switching from corexy or whatever your kinematic is, to limited_corexy. That simple change is all that is actually required, but there's more options to play with if you so choose.

For normal klipper style docs, you can read them for

Now for the slicer side.

I'll be explaining this in terms of SuperSlicer, but it should translate easily to most modern slicers, including PrusaSlicer and OrcaSlicer.

We'll want to grab the file from here and save this on your computer with the slicer. This is just a text file, so you can click SAVE_AS in your browser or CTRL-S on Windows/Linux, and CMD-S on Mac if it just shows up as text. Open up the file with a text editor. I've included the instructions in there, and will link to the help page for PrusaSlicer here as well. I haven't used OrcaSlicer, but the process should be similar as they all share the same base and are just tweaks to the same core slicer. You'll notice if you have read the file as instructed, we'll need to add some special comments to the start gcode of the section in the slicer. This absolutely must be done in the slicer and not the firmware at this time because it post processes locally, not on the printer.

Custom gcode

Under Printer Settings -> Custom Gcode -> Start Gcode we'll want to add some special comments at the top.

SuperSlicer

; Settings for the post-processing script "perAxis.py" that go into the Start GCode section in SuperSlicer.
; Accelerations are specified in the X_ACCEL / Y_ACCEL / Z_ACCEL format.

; ACCEL: 8000/8000/1000      for First Layer
; ACCEL: 30000/15000/1000    for Travel
; ACCEL: 45000/16000/1000    for TYPE:External perimeter
; ACCEL: 45000/16000/1000    for TYPE:Overhang perimeter
; ACCEL: 45000/16000/1000    for TYPE:Internal perimeter
; ACCEL: 45000/16000/1000    for TYPE:Top solid infill
; ACCEL: 60000/25000/1000    for TYPE:Solid infill
; ACCEL: 60000/40000/1000    for TYPE:Internal infill
; ACCEL: 30000/20000/1000    for TYPE:Bridge infill
; ACCEL: 30000/20000/1000    for TYPE:Internal bridge infill
; ACCEL: 45000/16000/1000    for TYPE:Thin wall
; ACCEL: 45000/16000/1000    for TYPE:Gap fill
; ACCEL: 8000/8000/1000      for TYPE:Skirt
; ACCEL: 30000/30000/1000    for TYPE:Support material
; ACCEL: 30000/30000/1000    for TYPE:Support material interface

OrcaSlicer

; Settings for the post-processing script "perAxis.py" that go into the Start GCode section in SuperSlicer.
; Accelerations are specified in the X_ACCEL / Y_ACCEL / Z_ACCEL format.

; ACCEL: 8000/8000/1000      for First Layer
; ACCEL: 30000/15000/1000    for Travel
; ACCEL: 45000/16000/1000    for TYPE:Outer wall
; ACCEL: 45000/16000/1000    for TYPE:Overhang wall
; ACCEL: 45000/16000/1000    for TYPE:Inner wall
; ACCEL: 45000/16000/1000    for TYPE:Top surface
; ACCEL: 50000/25000/1000    for TYPE:Internal solid infill
; ACCEL: 50000/30000/1000    for TYPE:Sparse infill
; ACCEL: 30000/20000/1000    for TYPE:Bridge
; ACCEL: 45000/16000/1000    for TYPE:Thin wall
; ACCEL: 45000/16000/1000    for TYPE:Gap infill
; ACCEL: 8000/8000/1000      for TYPE:Skirt
; ACCEL: 30000/30000/1000    for TYPE:Support material
; ACCEL: 30000/30000/1000    for TYPE:Support material interface

THIS IS JUST AN EXAMPLE! If your machine can't handle these accels, you could damage something, so set it to something reasonable. If you are unsure for now (and you should be), set these to the same accelerations you use already, and keep the same accelerations that you used previously.

Disable acceleration control in the slicer

Yes, I'm serious. Once you are absolutely sure that you have those numbers set to match what you were using in your slicer, or lower if you want to be cautious, you want to disable acceleration control in your slicer. You can optionally leave it enabled, but you will be trying to control accelations from more than one place, and it will likely be more confusing. The post processor will take care of acceleration control, and you should trust the accel limits in your printer.cfg to save you when you mess up.

Before you try to print any gcode with this.

Make SURE that it's post processing. Just slice any random object, and open the gcode file. Use your text editor to search for SET_KINEMATICS_LIMIT in the gcode. If this is in the code in one or more places (it should be there many many times), then you have done everything on the slicer side to get going!

Onto tuning!

Tuning is almost identical to typical tuning. You'll want to do the same pressure advanced tuning, per feature acceleration tuning, and travel accel speed tuning. The only difference is now you have access to control the accelerations of each axis. My calibration macros are found here ard I've created TEST_AXIS_SPEED specifically for per axis tuning. This is a non extrusion test that will move your gantry around and let you test the limits of your machine at different speeds. I've left examples in each macro in there to tell you how to use them, but for the recommended one, you'd run it like this.

TEST_AXIS_SPEED SPEED=300 X_ACCEL=8000 Y_ACCEL=1000 ITERATIONS=10 Z=10

That will home the machine, and move it around at 300mm/s, 8k accel on X and 1k accel on Y, and make 10 full iterations of the test. Note that it's built to automatically raise the limit of the machines acceleration for all axies to the limit of X for what klipper "normally" uses. This is because X will be the fastest on all machines supported, so if using that macro, make sure your X_ACCEL is as fast, or faster than Y_ACCEL. If you decide this is wrong, you know enough how to modify the macro to your liking, but most users this will be correct.

Finalizing tuning

Once you have speeds you are happy with, you'll need to do one last thing in order to fully use these accelerations. I've left this information out until now because the included macro is the only things that has been able to break the safe limits that you had in place before, and you want to keep them in place while not printing and the printer is doing basic macros.

In your printer's PRINT_START macro, or your Slicer's Start Gcode macro (only if not using a PRINT_START macro), at the VERY END you want to add the line SET_VELOCITY_LIMIT ACCEL=1111

Replace 1111 with the maximum acceleration you will be printing at on any axis (usually the fastest X acceleration. Remember those are set in the comments described above in the start gcode section of the slicer.

In your PRINT_END macro (or End Gcode section in the slicer if you don't have a PRINT_END macro, add this line.

SET_VELOCITY_LIMIT VELOCITY={printer.configfile.settings.printer.max_velocity} ACCEL={printer.configfile.settings.printer.max_accel}

You won't ever have to change it, it simply restores your printers limits set in the config. You very likely also want to add this to any PAUSE macro right after saving the SAVE_GCODE_STATE and before any moves as well. IF you have a CANCEL_PRINT macro, you likely want to add it there as well. Any time your printer needs to be interupted from normal sliced operations, it's a good guard to have in place. It's not a requirement depending on your settings and what your machine can do, but it is safer so I've listed all of these things.

Are we done yet?

Yes, that's everything majorly different here. If you followed steps here, you should have gotten to per axis accelerations safely, and without issue. There's much more that you can play with now if you so choose, and there's information in the files provided with instructions, as well as documentation linked above. I'll be doing a follow up post with some tuning tips specific to the limited-* kinematics that may help with some issues I've run into, but they are machine specific, and I want to hear back from the community so I know what others need help with. Feel free to reach out if you are stuck, confused, or just want to talk about this change!

Special shout out to Piezoid for the initial leg work on per-axis. I made very minimal modifications to their code, mostly shutting up the console spew that was useful, and is still there with an optional command, but lagged out the web UI when changing accelerations quickly (and per feature is very quick on small prints)

Also wanted to thank VintageGriffin, wherever they may be found. I wasn't able to track them down, but their post processing script was what I used as a basis for the one here, with little modification just to make it work per axis.

Both of these wonderful people were the ones that did the heavy lifting for what

Your 3d printer is slow

The problem

Many of us in the printing space chase speed. We do this, usually, not because we want to watch a printer zoom around, but to rapid prototype, reduce the need to have more printers for volume, and many other reasons. Many of us have moved from Cartesian systems like bed flingers to CoreXY systems in the persuit of quality at speed, but unfortunately these share one specific problem. There's a weak primary axis. Thanks to this weak axis, we have to limit the strong axis. The bed moving is clearly more of a limit than the toolhead on bed flingers, and moving the entire gantry on CoreXY systems is more weight than just a toolhead.

The solution?

So this should be a simple problem to solve one would think. Stop treating the axis the same! You would be, mostly, right. A wonderful member of the community that goes by Piezoid has actually done the initial leg work in solving this for Cartesian (aka, bed flinger) as well as CoreXY machines. I have run these kinematics for months now and have been finding some luck with them, but found similar quirks in the system that others have also found, and can see why some users chose to abandon it as promising as it is.

More problems?!

Here's a list of my complaints with the solution above.

  • No fine grain control of per axis accel limits per feature. There is basic scaling of acceleration, but that doesn't give us the control we have with modern slicers to control per feature acceleration, which can lead to slower print times.

  • Because our acceleration is changing constantly, tuning pressure advance is harder at best, and impossible at worst.

How to overcome this!

Per axis acceleration has allowed my machines to run at their limits in terms of not ringing, per axis when setting the limits in the firmware near the input shaper limits, so I wanted to press on and solve these problems. As for losing speed, I'm proposing the ability to go back to per feature accelerations. This would allow us to push well above input shaper limits on things like infill or other not visible features just like we have without per axis limits, but with the gain of being able to push each axis to it's own limit. In terms of pressure advance tuning problems, because we have per feature control, you will have the power to bring the axis accelerations back to the same, or more similar, for features that exibit problems with pressure advance. This sounds like it gives up speed, it doesn't. If you already needed that feature on the same acceleration on both axies, you got a sidegrade for that feature, but things like infill and travel, you will be able to unlock the full potential of the machine.

So how do I get that?

While writing this, my printer is running with all of these changes that were proposed. I'm cleaning up the code, documenting it, and trying to make it as accessable as possible for anyone that wants to extract more from their machines in terms of performance. I hope to post this quite soon, and if you have any questions, concerns, thoughts, or ideas, feel free to reach out and I'm more than willing to try things out or help you out!

Gotta go... smol?

Time for a teeny tiny printer!

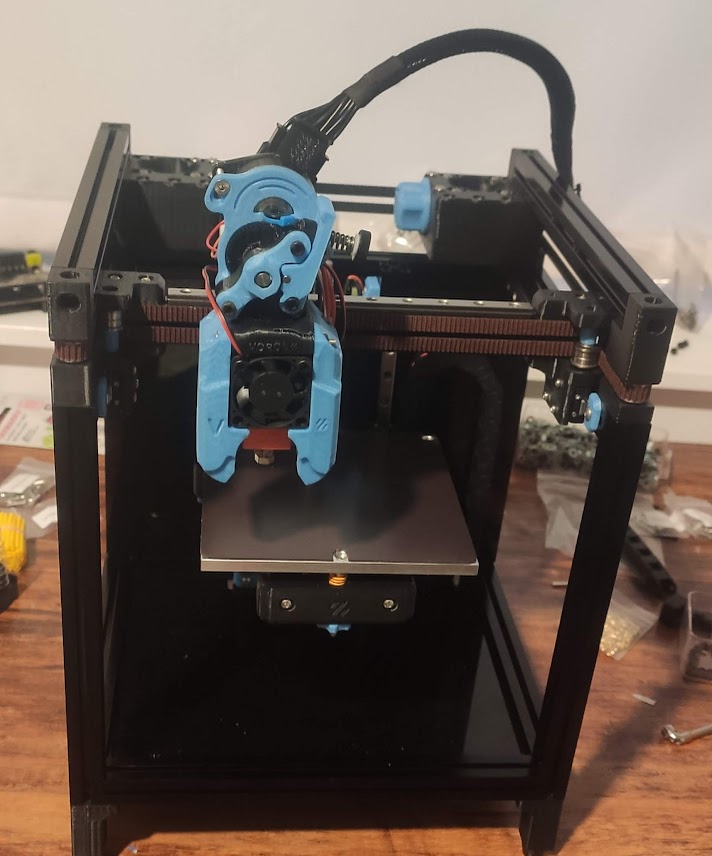
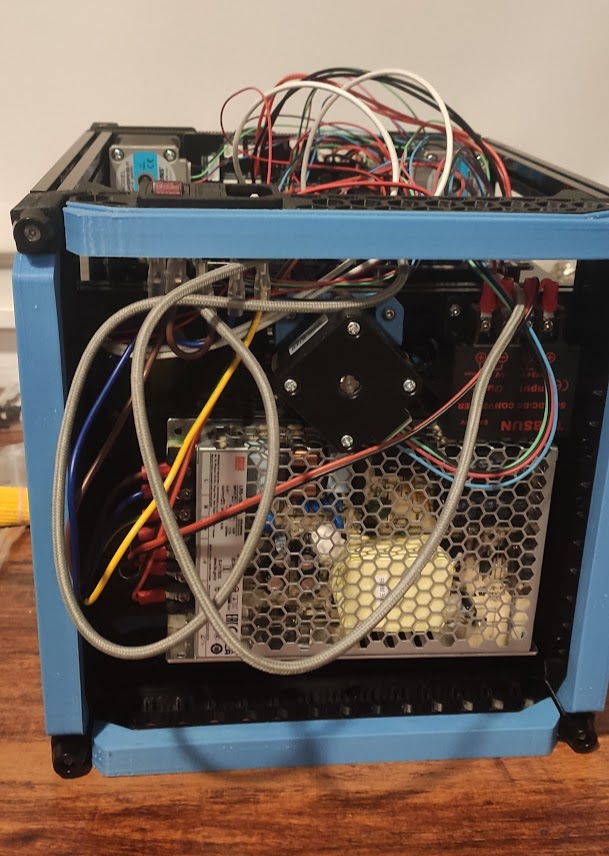
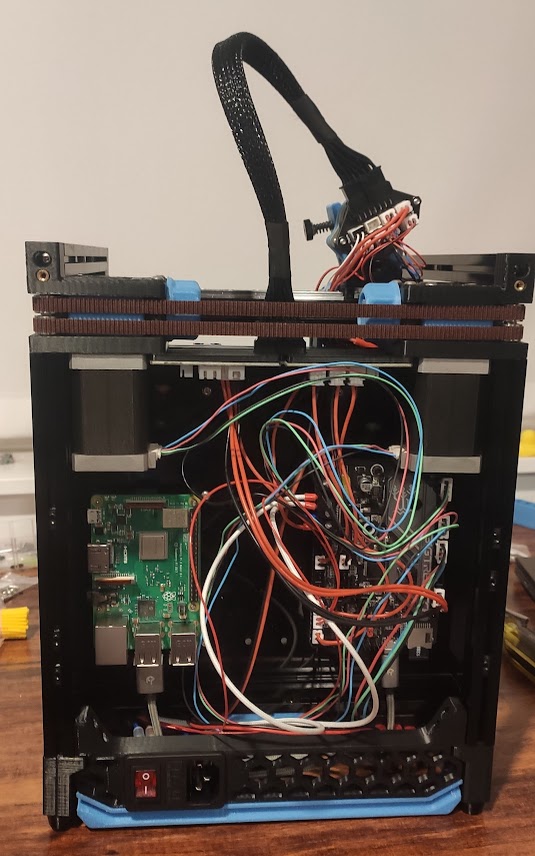
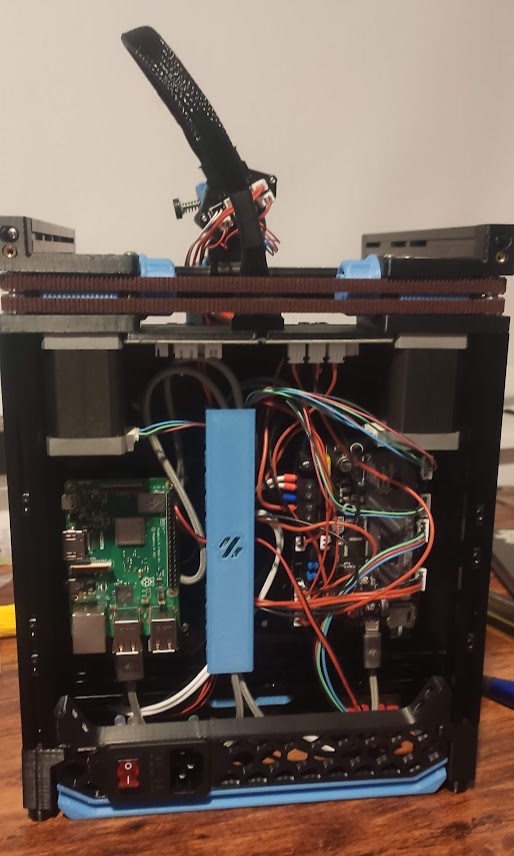
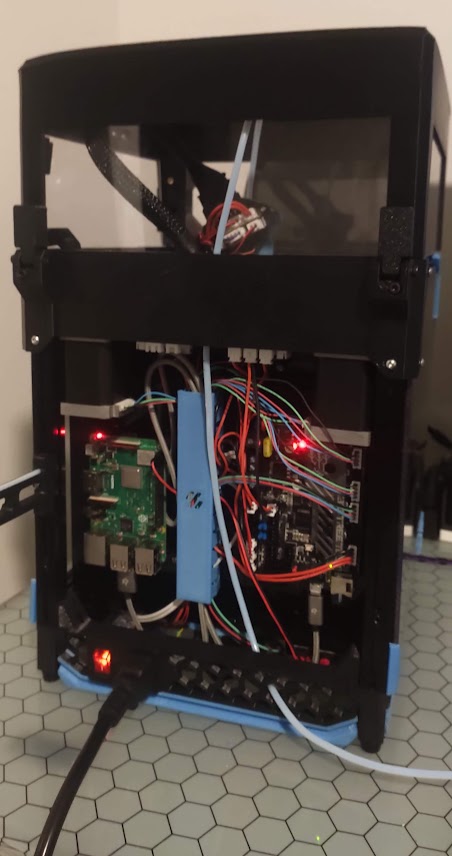
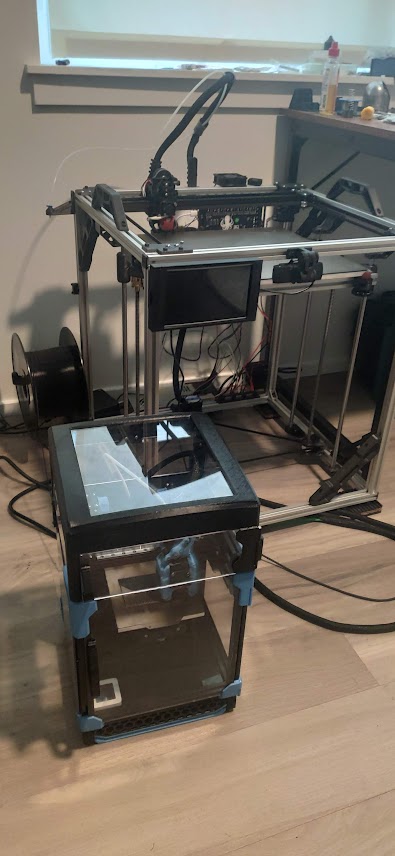
While I absolutely love my Vz330, I have learned some lessons about what it's good and bad at. It's absolutely not a bad printer, and is by no means going to be surplanted any time soon. Sometimes I do feel the need to have a backup printer for when it's down, especially if I need a part that's not already printed. With repraps, you always want a spare printer. In comes the Voron V0! It's got a laughably small build volume, but it's enough to print basically any required part on any 3d printer I own, have owned, or will own. That makes it quite the useful little printer even if some parts I want to print don't fit on it. Enough rambling in an intro, let's see how it went!

The build

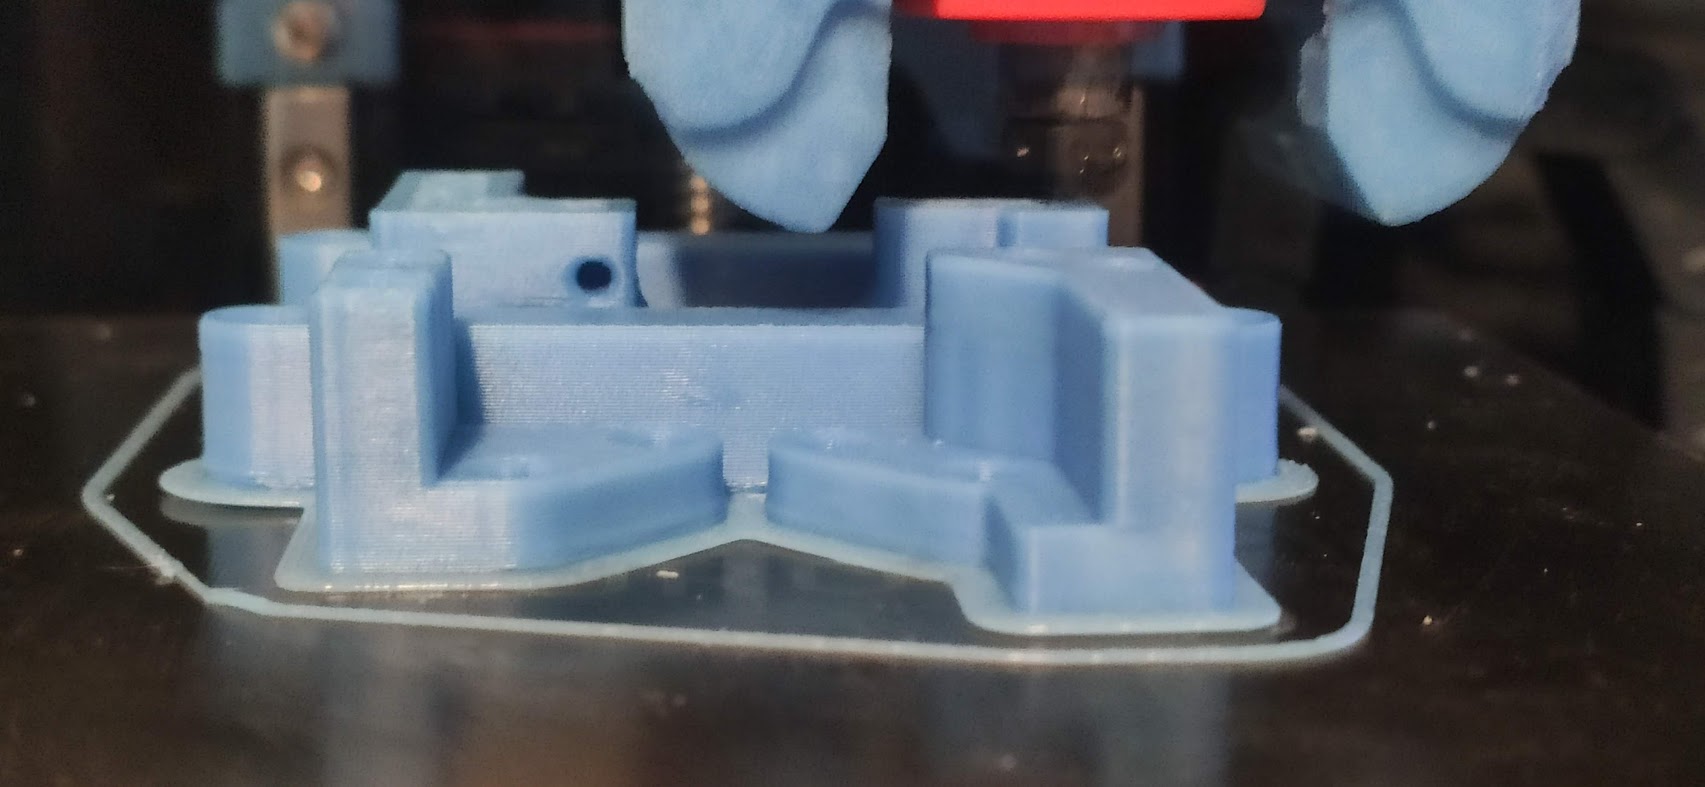
build1 build2 build3 build4 build5 build6 build7

Day 1: Build summary

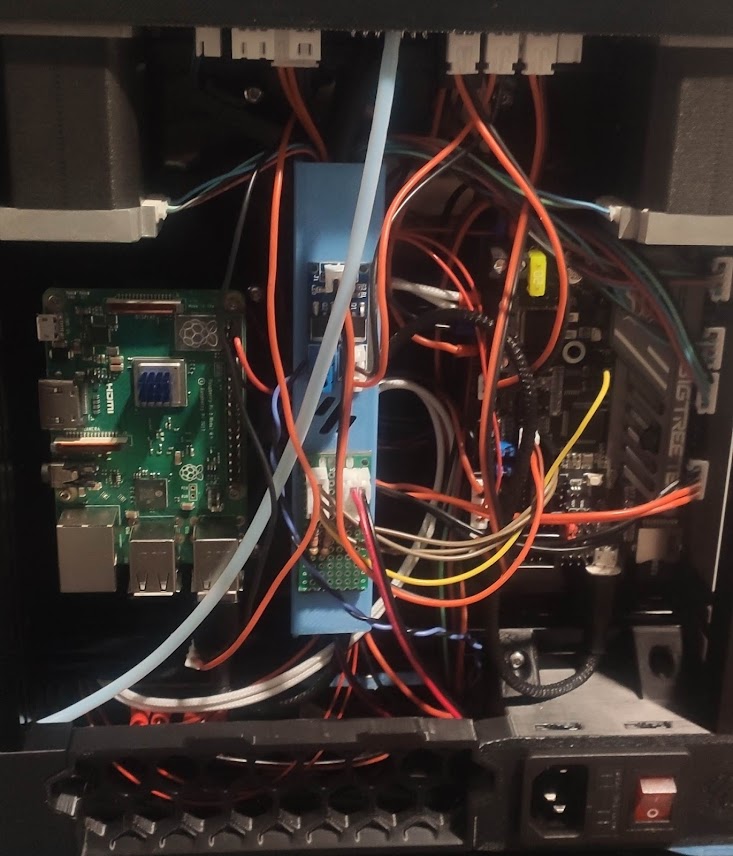
This printer is... much harder to build then a Vzbot. Everything needs to be put together in order, and if you get it wrong, you have to unbuild so much to get to the part that you need to rebuild. I can't stress how much this is tightly packed. No space in here is wasted. Packing all of the wires in there is an absolute nightmare. Even with the cable channel, it just feels like it won't fit. Managed to get it running at least, and that can be worked on.

Day 2: Onto the tuning!

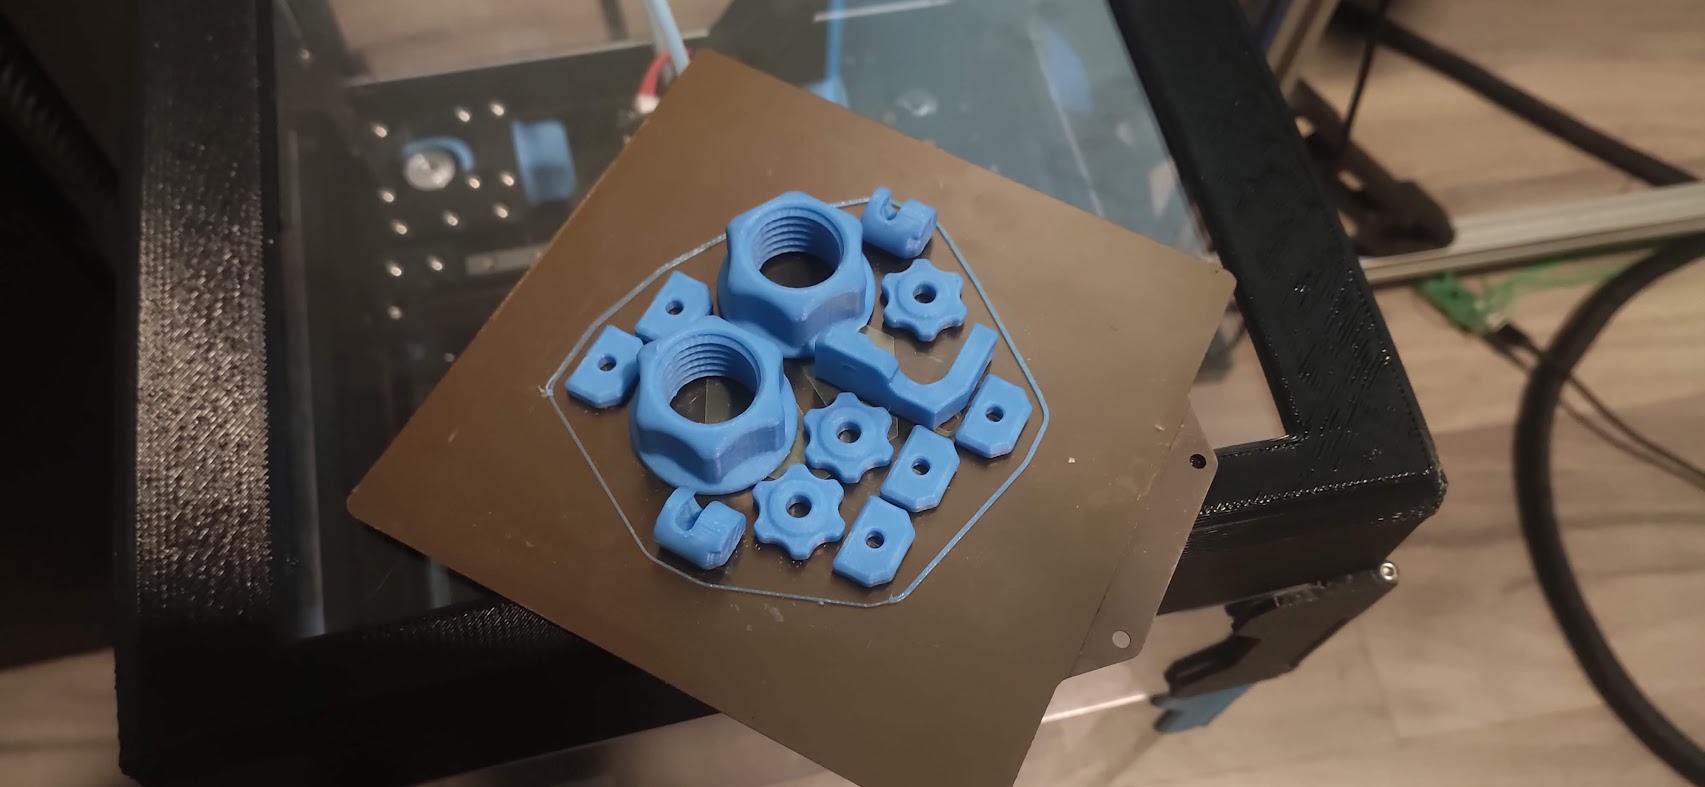
Onto day 2, and less then 24 hours after building a V0.1, the V0.2 launched. Guess it's time to tune for speed to update some things. The life of a reprap, always printing it's own updates. Gotta get some panels on this thing as well, so printing those on itself as well.

Some changes

ugly_hat enclosed teeny

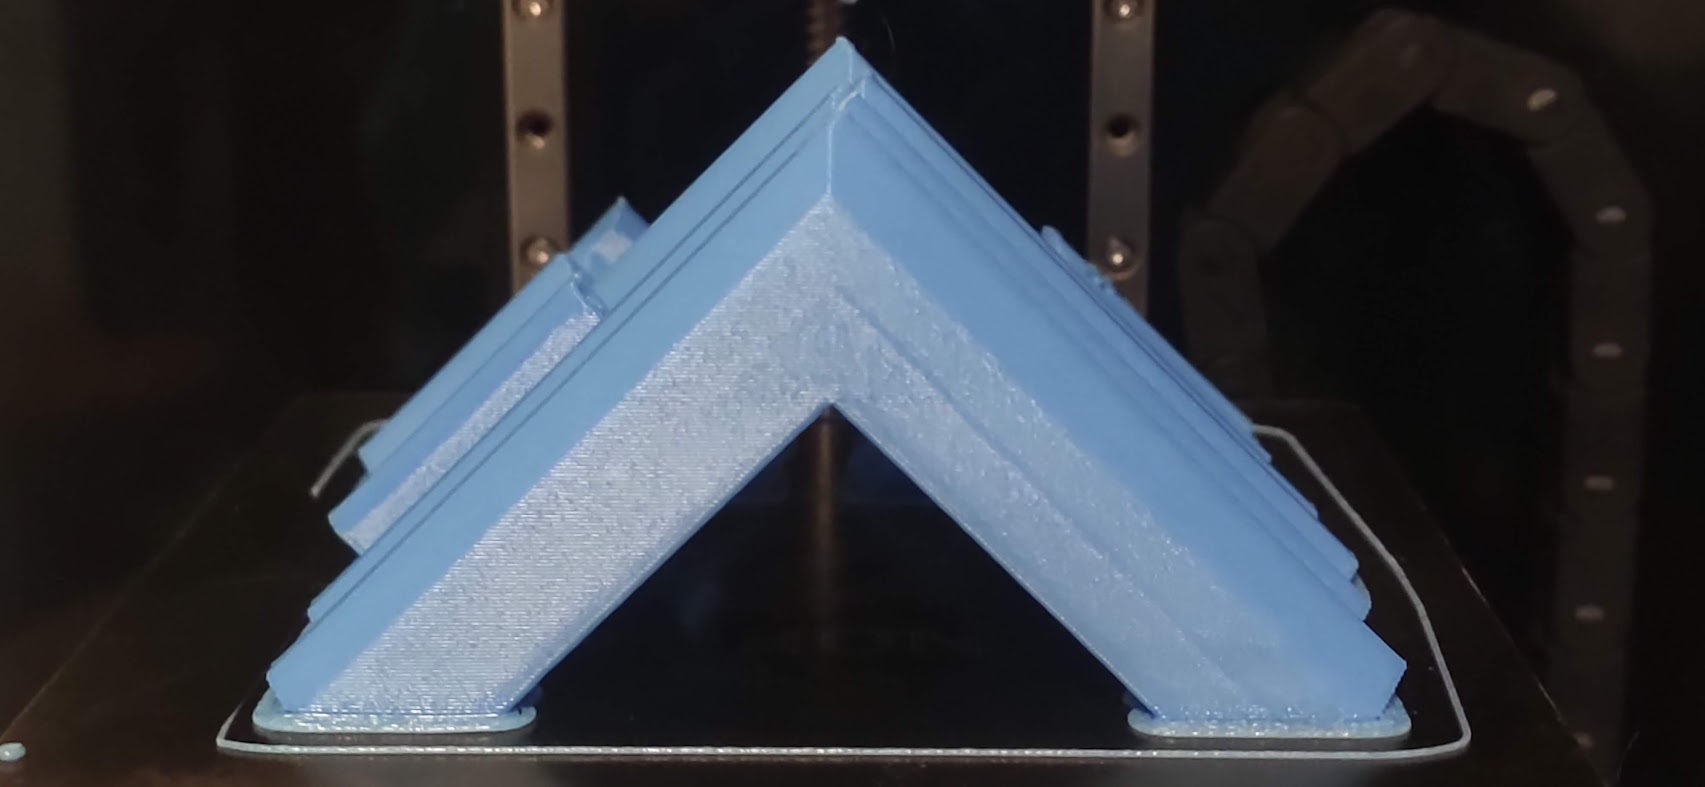
Clean prints

clean_print clean_print2 clean_print3

Last Changes

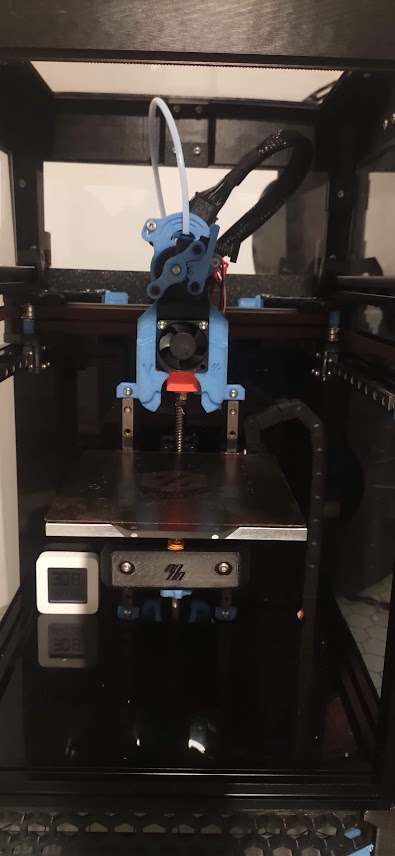
Over a bit of owning it, the V0.2 tophat parts showed up, and some shenanigans happened. I ended up popping some mosfets due to some absolutely stupid things I won't bother explaining. Cheap boards do cheap board things. I ended up also strapping on a thermistor board I built as well to get an additional temp sensor for the enclosure. It's not pretty, but it's functional. The LRS-150 power supply also had some horrid coil whine while idle, so it ended up getting chucked out and replaced with the prusa mini power supply. Same voltage/wattage, worked out. Toolhead also got replaced as cooling is an issue when you can't really delay layer switching by printing bigger, so it was replaced by a 5015 based head. Less noise, more cooling. Overall extrusion speed ended up increased despite the lower melt rate cap as you don't have to slow down to wait for cooling.

dead_stuff final

Final thoughts

This is a very niche printer. I can't print keyboard cases on it being it's only 120mm^3 build volume, but it can print a ton of my random prints that I honestly do the most often. Despite Vzbot being faster once it's fired up, it takes 10-15 minutes to warm up, and this takes less then 5 from print sent to starting printing. It's also massively cheaper to maintain with it's tiny bed and small belts and rails. While I don't think this printer is a good only printer for most people, it's an absolutely amazing printer to own as a secondary or tertiary printer. Quite limited, yet has some huge upsides. I'll either keep it basically untouched as a reliable back to back printer, or toy with new ideas on it before messing with the much more expensive Vzbot. Only time will tell.

Hifiman Sundara (2020)

Planar for the masses

Anyone that has ever heard me talk about headphones knows that I can't talk enough about the Hifiman Sundara. I've had the chance to listen to quite a few headphones even in the $4000 mark, and I'm still surprised how well the Sundara keeps up for it's relatively low price. For those that have never heard an open back headphone, or a planar magnetic driver, you are in for a surprise. I'll keep the intro short and get into tracks, and give assessments of over all, as well as other things to consider towards the end. Without further ado, here's the hardware used test and we'll get into it.

  • DAC
    • Denafrips Ares II
  • Amps
    • Jotunheim 2 (modded)
    • Valhalla 2

Disciple - Said the Sky (Faith EP)

Link to song

This song offers a range of things going on from a really deep bass line, female vocals, and natural drums, and many other organic sounds. Keeping all higher frequencies clear while driving such low frequencies is challanging, but the Sundara pulls it off with no noticable distortion to any track, no matter how much the bass blares under it all. The bass reaches lower than many people claim they can hear with decent energy. It doesn't reach so low into the sub bass to feel vibrations in your body, but in this price class, I wouldn't expect it to. It sounds full and lively, and most importantly, it's well controlled. This is by no means "dirty bass" as many describe it. At around the 2:00 mark, water effects start coming in, which sound fairly natural against the rumbling bass, which can't be said for any of the IEM's or dynamic driver headphones I've tried in this price range.

Lyin' Awake - Steam Powered Giraffe (Single)

Link to song

This song has a ton going on in it. Many vocals, lots of fast instruments. Layer seperation plays a massive key in detail retrieval, and the Sundara does a decent job here. All of the tracks are there, but not at the level that they are overly easy to pick out and focus on. In this price category, that's a compliment, not a detriment. Voices don't have a perfectly natural timbre, but I'd say that it gets a pass in that front. It lacks some of the energy that this track clearly wants to deliver and ers on the side of showing you details over fun. While it's an enjoyable song, it doesn't shine on these headphones the way that it should.

Birth of a Wish - Keiichi Okabe (Nier:Automata OST)

Link to song

The absolute speed of the headphones starts to shine here. This track is drum heavy with male vocals on top, with a nice reverb that's well presented. You start to get a sense of the size of the room with some details in the reverb despite much louder drums and vocals still on top. This song is a joy to listen to here, despite lacking the low end energy, it sounds full, and all of the tracks are present.

Lose Yourself to Dance - Daft Punk (Random Access Memories)

Link to song

This track is insanely well recorded. It may come off as a simple track, but the seperation of all tracks is shown off well. The beat feels lively, claps appear wide and sound like they are coming from the place the headphone driver sits next to your ear where some vocals appear center in your head. At the 1:54 mark, "come on" vocal tracks start to come in, and start stessing how well the headphones can image. The position appears to start at the respective ear, and go down to the back of your neck. There don't seem to be any gaps in the sounds position, so the effect is quite noticable. Guitars have a decently natural timbre as well for planar magnetic drives in this price point. Over all, nothing is lost, and some technical aspects of headphones start to show with this track, and the Sundara doesn't disappoint.

Drumhead Trial - Protest the Hero (Volition)

Link to song

Right from the instant that this song starts, you can hear how fast it is. Technical metal can start to truly show off on these headphones. No note is lost here, where the double bass is fast enough to start sounding like single notes on most headphones I've heard in this price class. While this isn't the most warm presentation for metal that some really look for, it picks up on the technicalities without issue. The bass isn't super impactful, but the details are all there. I'd distinctly say that the Sundara are not the most fun to listen to from an enjoyment perspective on metal/rock tracks, but really do stretch their legs showing you what's hidden in there.

Strengths and weaknesses

The Sundara is without a doubt fast. If you have a lot of music that has a lot going on that starts to blend into one sound, it will pick them right apart. It's also a bit bright, which isn't the most enjoyable on tracks that are built to be driving, high energy tracks. They are by no means unpleasant, but they may not bring the energy to the table that you would hope for if you are used to dynamic drivers that tend to have more energy. This will not satisfy bass heads that just want a muddy sound, but the bass is there, and it's clean. The Sundara is opinionated in sound, and you either love it, or hate it. It's ability to pick apart details is astounding in it's price class, but there are always tradeoffs. Sound staging is also not a strength of this headphone, making it an intemate experience. The sound doesn't reach much farther than where the driver sits, despite this being so open. Imaging within the limited sound stage is good at least. Being open back, these do leak out sound badly, which makes sense given that there's no isolation. I would not recommend these for walking down the street, or on a bus. They drive well enough on the go out of a laptop/phone that they do fine if you are in a hotel, but that's the limit of travel recommendation I'd have for these.

Build and comfort

After all of the tradeoffs with sound, I have to say that the Sundara are absolutely the most comfortable headphones in it's price class that I've ever worn. The open driver design lets you hear sounds come in almost like they aren't there when no audio is playing. Pair that with how light they are, and the wonderful suspension strap design, and without sound playing, you forget they are on your head. The construction is a mix of metal and plastics, but it doesn't feel cheap to the touch, nor have I noticed any issues/scratches/damage in the year or so that I've used them as my primary headpone, including traveling.

DAC/AMP

While you can plug this into a phone or a laptop and it will get decently loud, it's highly recommended to own a dedicated amp with this. Getting the details out while providing the clean bass requires a decent bit of current, and without at least an entry level amp for these if you want to get the most out of them. I'd stick clear of many of the Topping and SMSL amps as they tend to sound colder in general, with exceptions of course. Because the Sundara are already pretty bright, amps from Schiit have a warmer sound and bring a bit of life to these headptones that they need for the "fun aspects" to compliment their technical side. Good options that are affordable would be the Magni+ or the Atom+. The Sundara were not super picky when it came to DACs in my opinion, but you may want to grab one just to not have to worry about the quality of what you have in your device.

Ratings

All ratings are on a 1-5 scale, 5 being perfect. Ratings are based on price class as devices shouldn't compete with something multiple times their price.

  • Build Quality: 4/5
  • Comfort: 5/5
  • Portable convenience: 2/5
  • Detail retrieval: 5/5
  • Sound stage: 3/5
  • Imaging: 4/5
  • Bass quality: 5/5

Conclusion

Even after hearing headphones that cost 10x what these do, I'm still impressed with how much they do right if you want to get a taste of what hi-fi starts to sound like. They aren't perfect, and they don't match perfectly for every type of music, but it's a wonderful peek into another world, and beyond comfortable. Unless you listen to nothing but old rock and really hate detail, I can give them a recommendation and have yet to find someone that's disliked the sound that they offer for their price.

It's not just about audio quality

Resolution and detail aren't the whole story

There's a lot of things I really enjoy about audio that can't simply be "what's better". All of us want upgrades when we spend money. The next thing that's just better than the last thing. In reality, it's always tradeoffs, and not just "more money is the tradeoff". That applies to everything in life though really. Intagible things like features, be it wireless connection, ANC, or even just look and feel are things that you may want other than just raw performance. Today I wanted to take a look at things that I have spent money on that aren't just about squeezing every last bit of detail out of music, and have given me joy in one way or another to help explain the insanity to a bit.

Why have more than one amp/DAC?

Amps and DACs have a sound, end of story. There are some that may do things differently that you prefer, but it's a lot harder to just say "this source is just better at everything" sometimes even comparing across price ranges. There are different designs out there. Let's look at two catefories of amps first. Tube amps tend to offer you a warmer presentation of audio. Sub bass and the really high highs can roll off in the upper air region, but they tend to be a lot of fun when it comes to classic rock, slower metal, orchestral, acoustic, and several other types of music. They tend to not be so great for really fast music such as metal with high BPM and double base notes, quick or very deep layered electronic music, and a few other places, but those aren't hard and fast rules. They augment the sound and present it in a new way and can shape the sound of headphones that you love already in new ways. Solid states are better for the inverse. Source chains rarely can take a headphone that you hate and make it great, but it gives you a new look at music you feel that you know inside and out, and give you another look at it. I'll cover this in a review, but there are factually exceptions of really picky headphones that can be make or break with source gear, but know that's an exception.

As for DAC's, it's the same story. DAC's are often broken up into categories of delta sigma, which is what you are used to, and R2R. Delta sigma tend to be much more sharp, and give you a sense of more detail, where R2R tend to give you a much more natural sound. R2R excel in similar places that tube amps can, but offer a different presentation all together. R2R are quite the investment to truly start getting into, which is their main drawback. I'd recommend giving one a listen before committing to them before you truly decide it's for you. One goodd exception that presents "R2R-like sound" is the Gashelli Labs Jnog with the AKM4493 DAC chip for those interested in a cheap way in. I'll do a mini review of that at some point, but I'm well off topic at this point. Long and short is that there's reason to look around at source gear to augment your experience as opposed to just "get an upgrade".

Cables. Do they really matter?

Yes. No. Sorta. Once your headphones cost $5000+, we can start debating on if materials really matter, but that's not the topic today. I'm simply talking about if you care about the cable. How it feels, how it looks, what functions cat it offer you. Braided cables are often more flexable and have less chance of stressing connectors. Maybe you care about how thick the cable is because a big cable that's flexable just feels premium to you. Material choice on the outer coating can play a difference as well. Maybe you want a soft material on the outside so when you bump it, it has a nicer feel. This also gets into microphonics. Microphonics are basically the ability for the cable to introduce noise into your headphones/IEM's when they rub on things and that vibration goes up the cable and onto the headphones, or worse, IEM's. That sound doesn't have anything to do with electrical signal, but it's something you end up hearing if it's rubbing on a desk or your clothes in some situations. What about connections? Most of us are used to cables that aren't modular so we don't think about them. Companies like Hart Audio are one to offer you different connectors with their quick connect system. Have the wrong plug for the device you want ot plug your headphone/IEM into? Why buy a new cable when you can just switch out the end. This saves you money if you end up needing more than one cable to plug into, say, a phone with a 3.5mm jack, and a balanced amp at home with XLR. Or if you buy new gear, you don't have to worry about which connectors they offer. The cable will work, and you only need a new end! This also allows you to easily add extensions that work with every end type as you aren't buying new cables. Long cable for the desk, and make it short while on the go, all without buying any extras you may not need later. It's up to you if you feel like a cable will make a sound difference, but to me, it's all about feel and function, and that's worth spending a bit extra on.

The elephant in the room

What about headphones? My DAC/amp arguement holds here even more true for headphones. Those have the greatest impact on sound, and can give you massively difference enjoyment in different tracks. If you have one nice set of headphones, and say, IEM's of any quality, I recommend listening to the same song on both. Each one will not only have different levels of detail, but also a different overall sound. Is one more pleasing to you? Which one is better at everything? Chances are, it's neither. Most of the time, we have different types of headphones for convenience, or comfort, which is itself a great reason to own more than one kind of headphone. Maybe it's as simple as wanting the spacious sound from open back headphones, and sometimes it's loud, so you switch to closed back headphones so you can listen uninterupted without letting everyone else hear what you are listening to. I've often been asked "What's the next headphone up from [insert their audio dewice]?". Most of the time, I can offer suggestions on where to go up, but I've found that many people enjoy having options of sidegrades rather than one really expensive headphone with a huge downside. The higher you go up in price, normally the more you have to spend on supporting gear. If you have a $1600 headphone, you probably don't want a $100 amp or you'll probably be missing out. Same with the DAC. Not to mention that there are parts of audio that you'll learn exist thanks to hov much better your headphone is at doing some things, and then other things just don't improve much, and if that's something that you care about, you may feel like it's lacking. There's no best anything, and there's no rush to the end. If you even think you care about high end audio, either find someone with lots of hardware to listen to, or see if you really care by playing with what you have, or keep it affordable when buying new things to try. Higher end headphones aren't always as much fun as some cheaper ones.

Wrap up

So that was a long unstructured ramble about things that were going around in my head. Hi-fi is true insanity, but it's out of love for music for most people. Hopefully that can give you something at least to think about or help you understand why I take such a seemingly odd stance on reviews of audio gear for those that haven't heard things for themselves. As always, I'm sure I missed something, so feel free to reach out if there's anything else you'd like covered, or if you want to ask about specifics that apply to what you have, ect.