How I got here.
I'll be flat out here. Every one of these was done for fun. This printer is amazing out of the box, and while some can help print quality, done were done with the intent of getting better print quality unless otherwise noted.
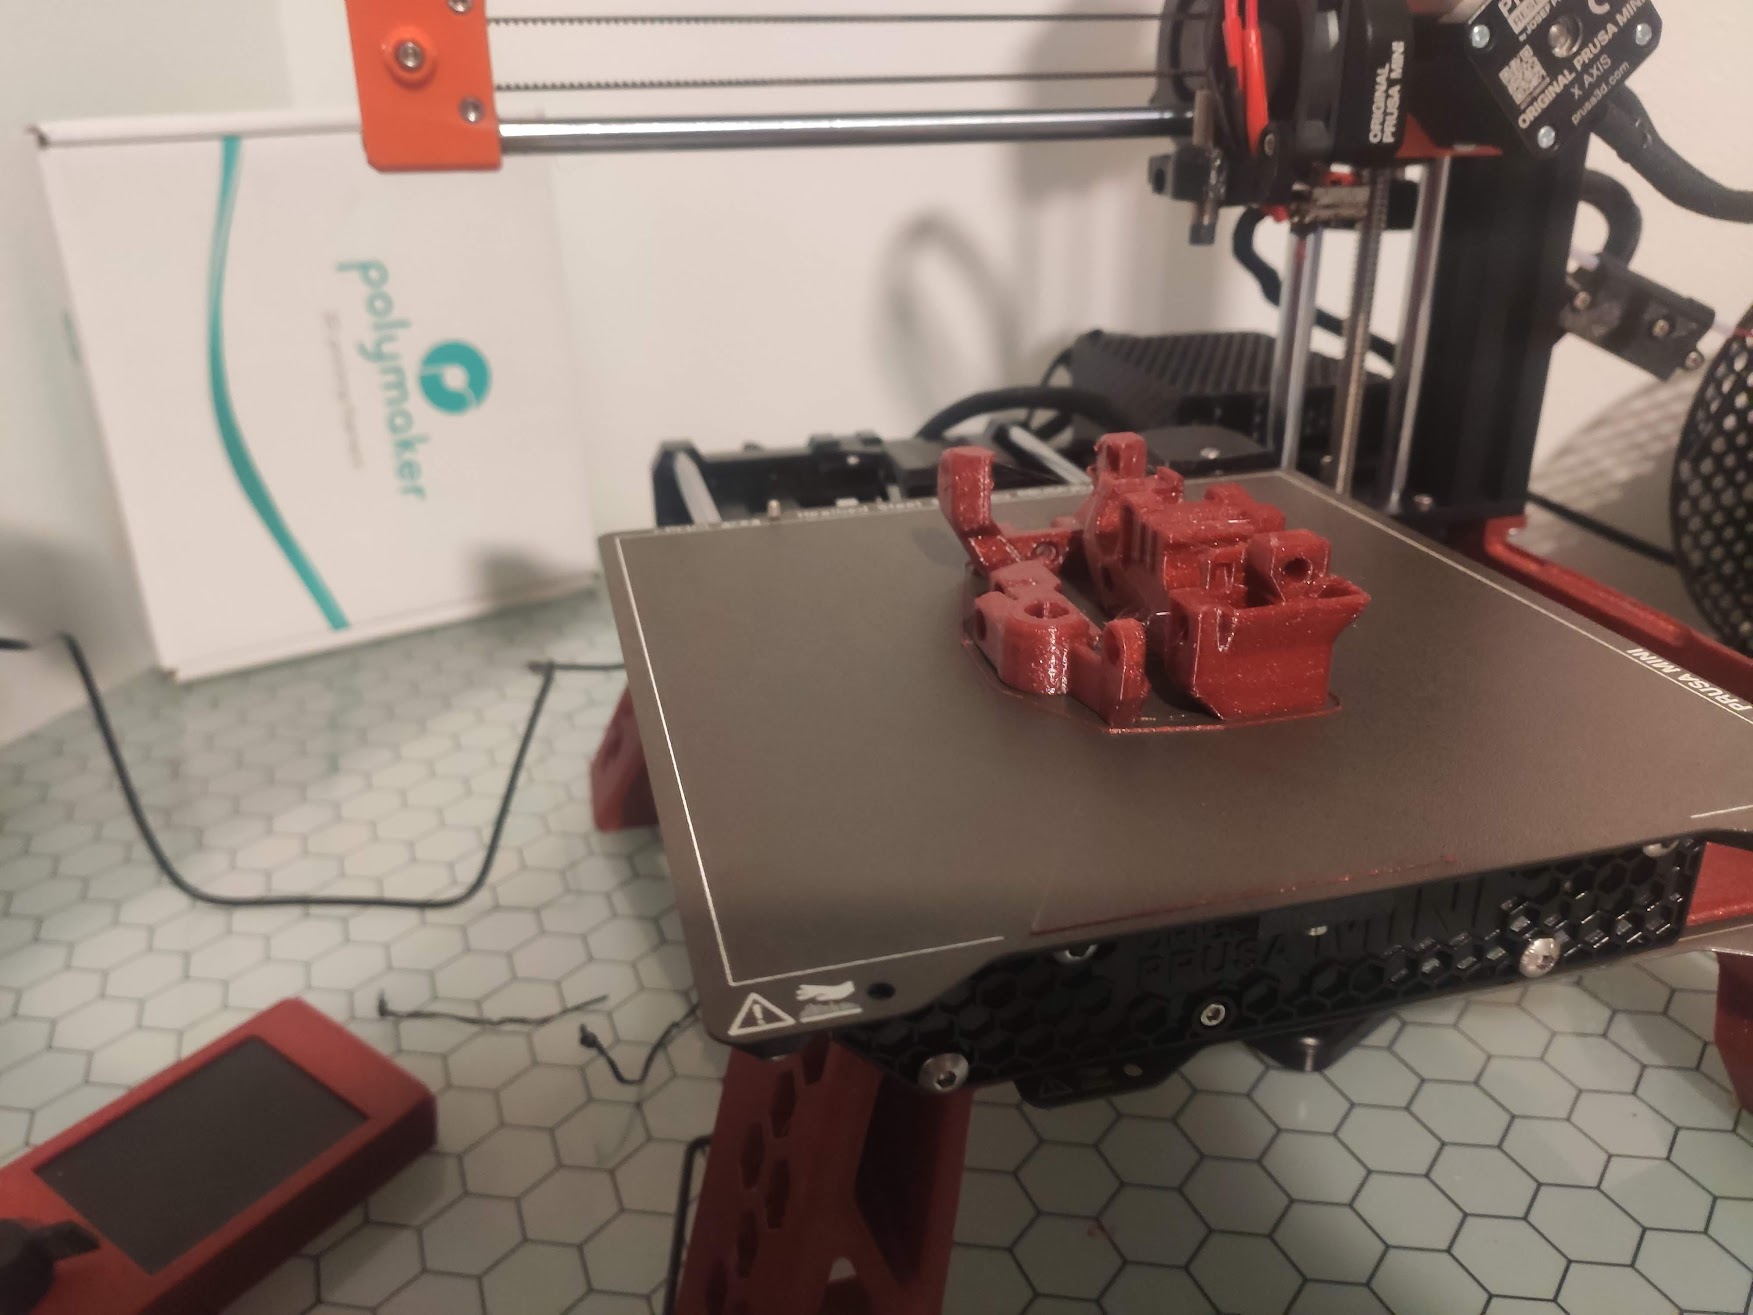
Prusa Mini Base
I printed parts of this including the legs, some trays, and the PSU holder. The legs in theory offer better prints as the printer is more stable on the right side than it is stock. There's space for the spare bed under it, as well as room for a spool if I wanted to use that to keep it compact. Overall, I'd say that this is a pretty good upgrade, but was mostly printed to get used to the carmine red PETG.
If I were to print this again, I would look at this lowered base, but I'm not really in it for the looks. It was a good learning experience, and took a bit of plastic, so I'll leave it as is.
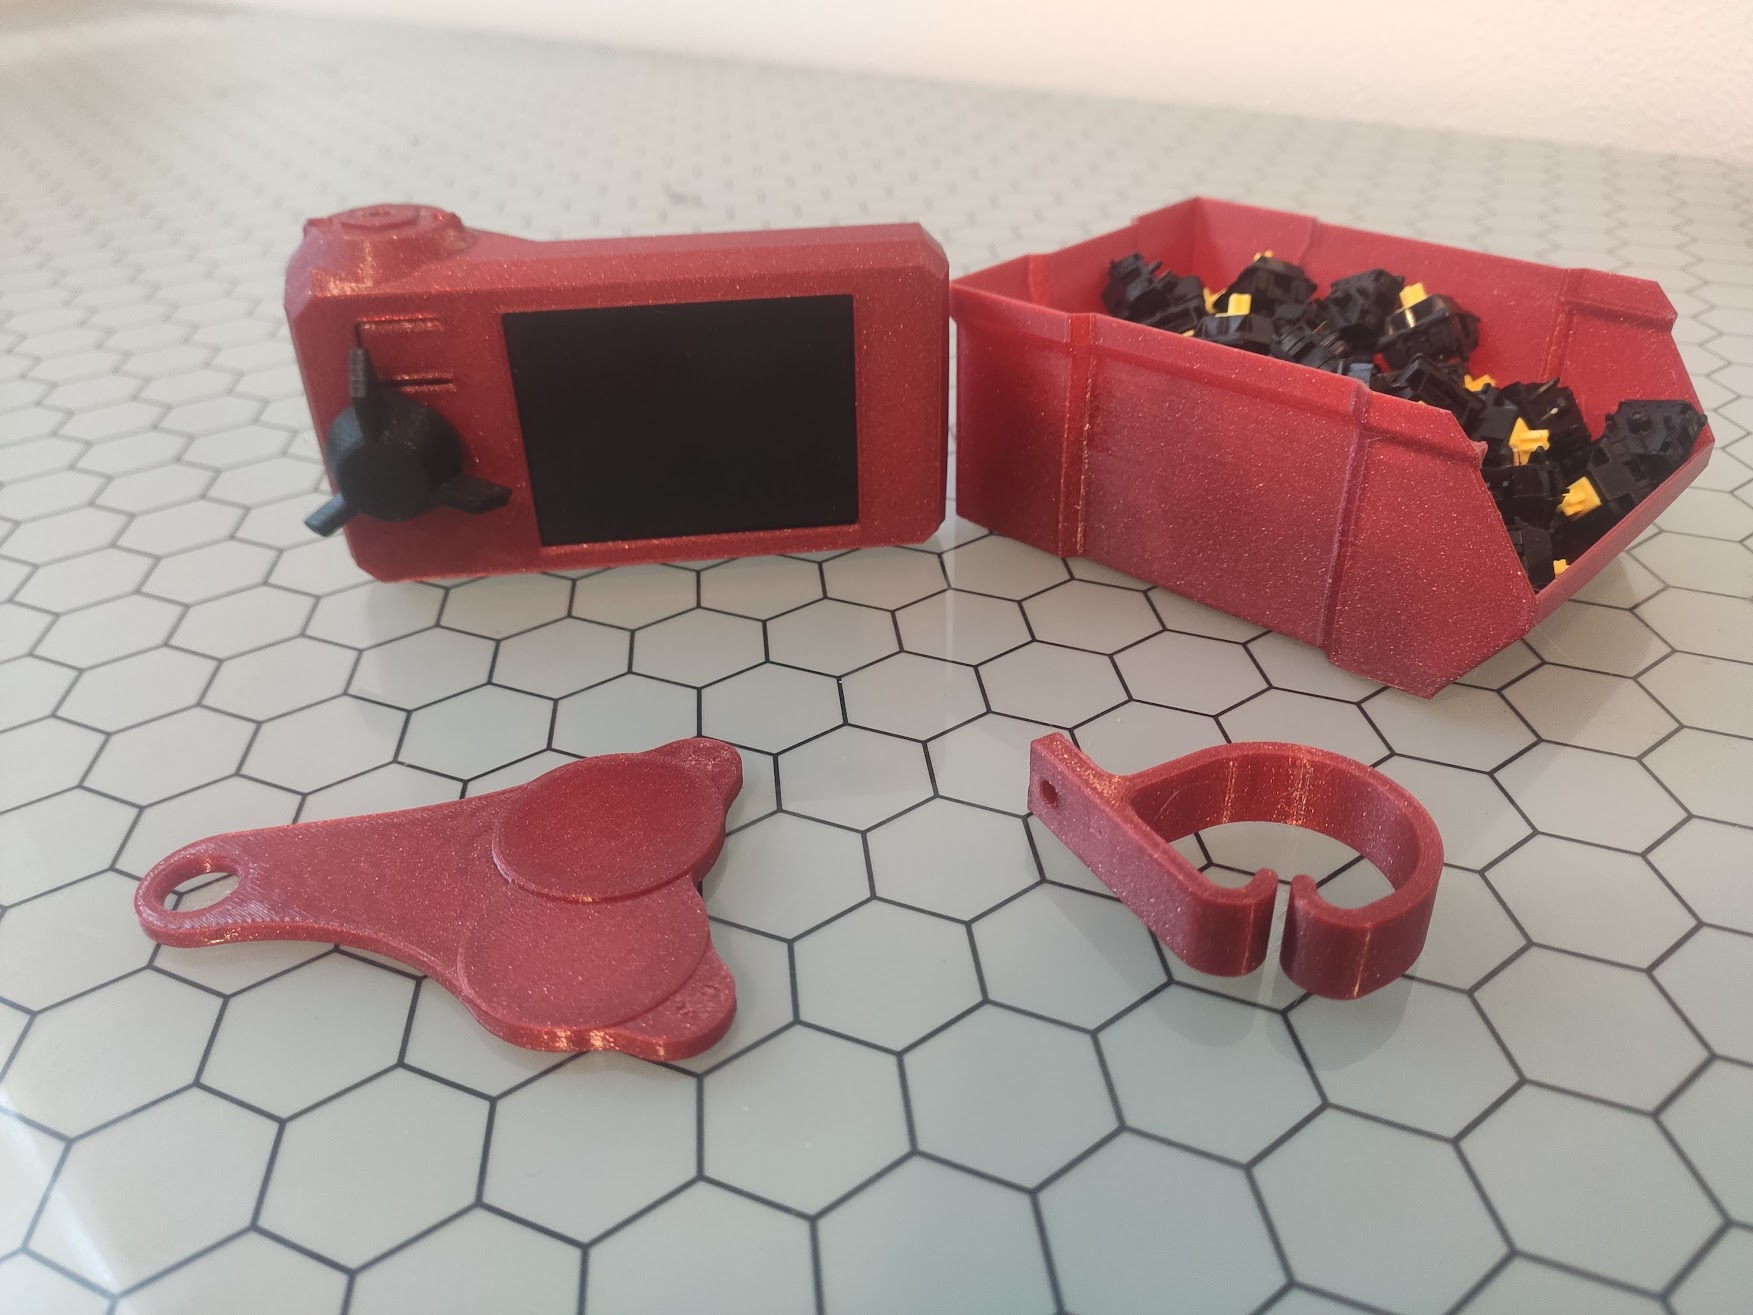
Raspberry Pi case
With octoprint on board, you'll want a place to put your pi. Why not as part of the printer to keep it easy to move, store, and just generally clean? This works great with the base mod above, and was really easy to print. My only complaint is that the top took ages to print as it's a ton of z hops, but once it's printed, it's fantastic. Would recommend this to everyone.
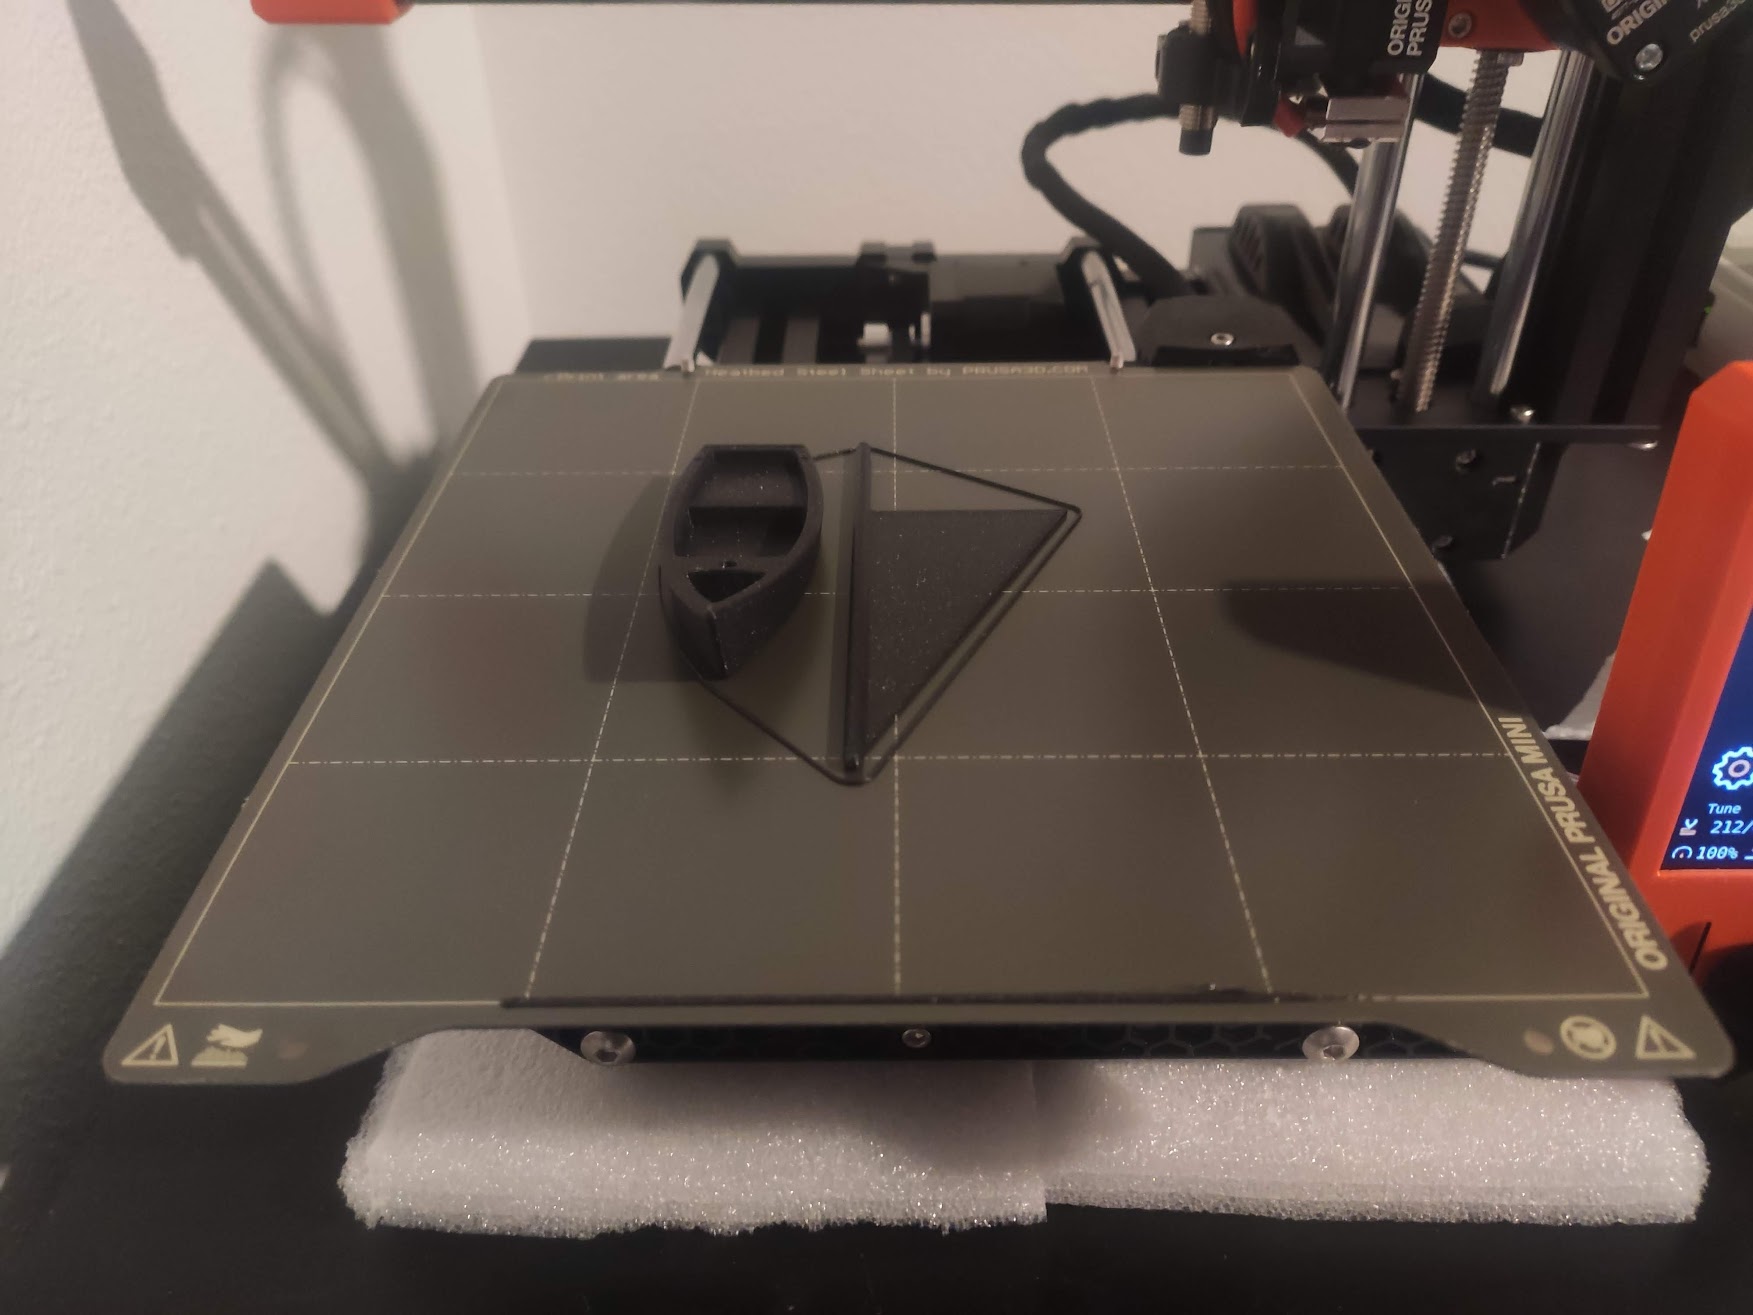
Blade duct
The cooling on the mini is fine as is, but I wanted to test the heat deflection on the PETG again, so I printed this. I did seem to get better cooling, though there was an issue with it hitting the bed at the far back. Luckily, there was someone that already noticed, and fixed that. If you don't need every last mm of the bed, the main part is amazing, and cools better, but if you want to just not think about it, I've also linked the mod that I also have now printed. I found no issues with PETG for this use, but printed the mod in ASA because I had it loaded in case you wonder why they aren't the same calour.
Can be downloaded here Fixed part here
Kapton bed
While I was printing PLA just fine on the stock smooth bed with PEI coating, unfortunately ASA had another thing to say about that bed, and fell in love with the sheet enough that it would never let go. Thus far, it seems to print PLA and ASA quite well, but doesn't grip as well as stock bed, which is both good for ASA, and bad for PLA. Overall, I wouldn't directly recommend this if your stock sheet works as intended, but in place of replacing a dead bed, they are a good value. Getting the PEI off was as easy as freezing the sheet, and pulling it up. The glue on the other hand, I'll leave for you to deal with, and won't even talk about, let alone recommend what I did to get it off.
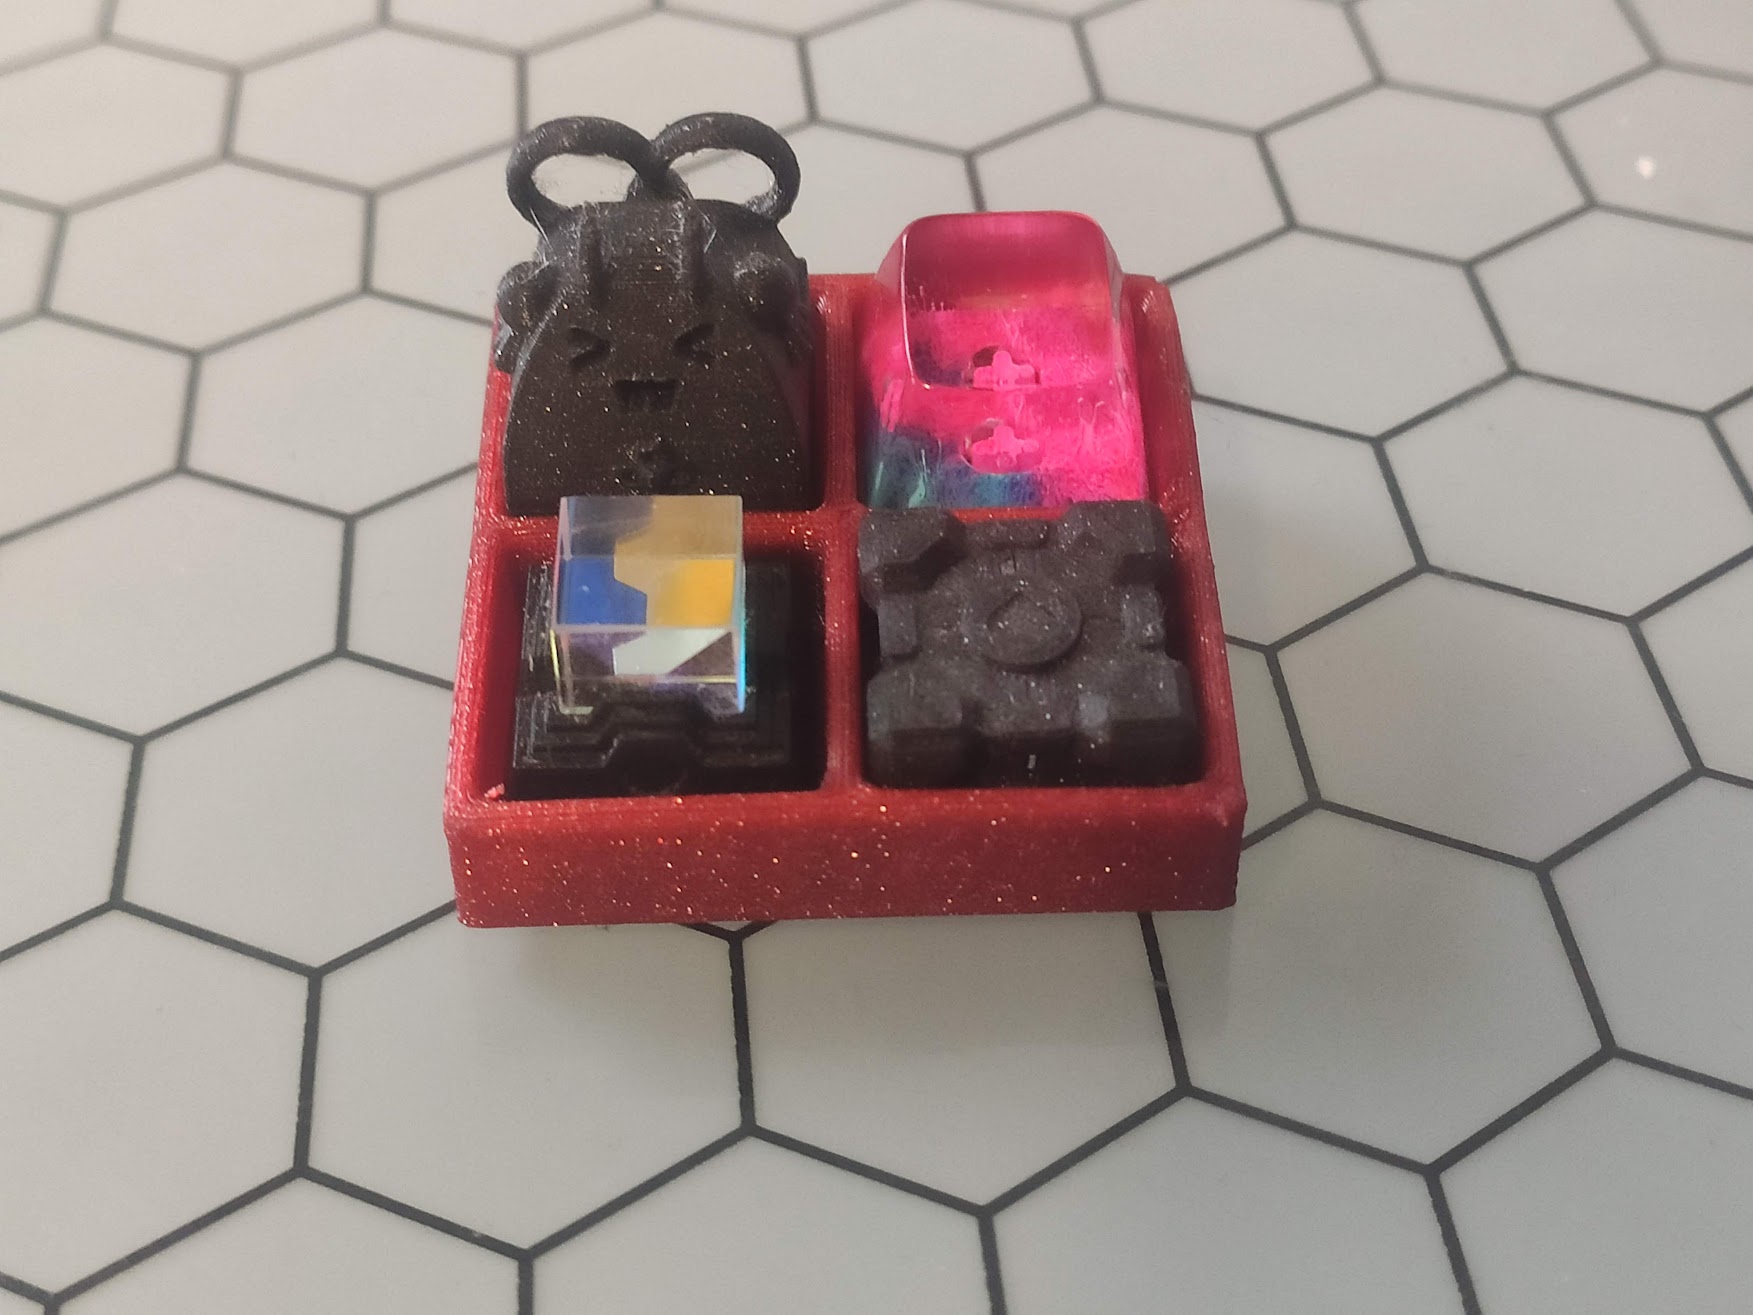
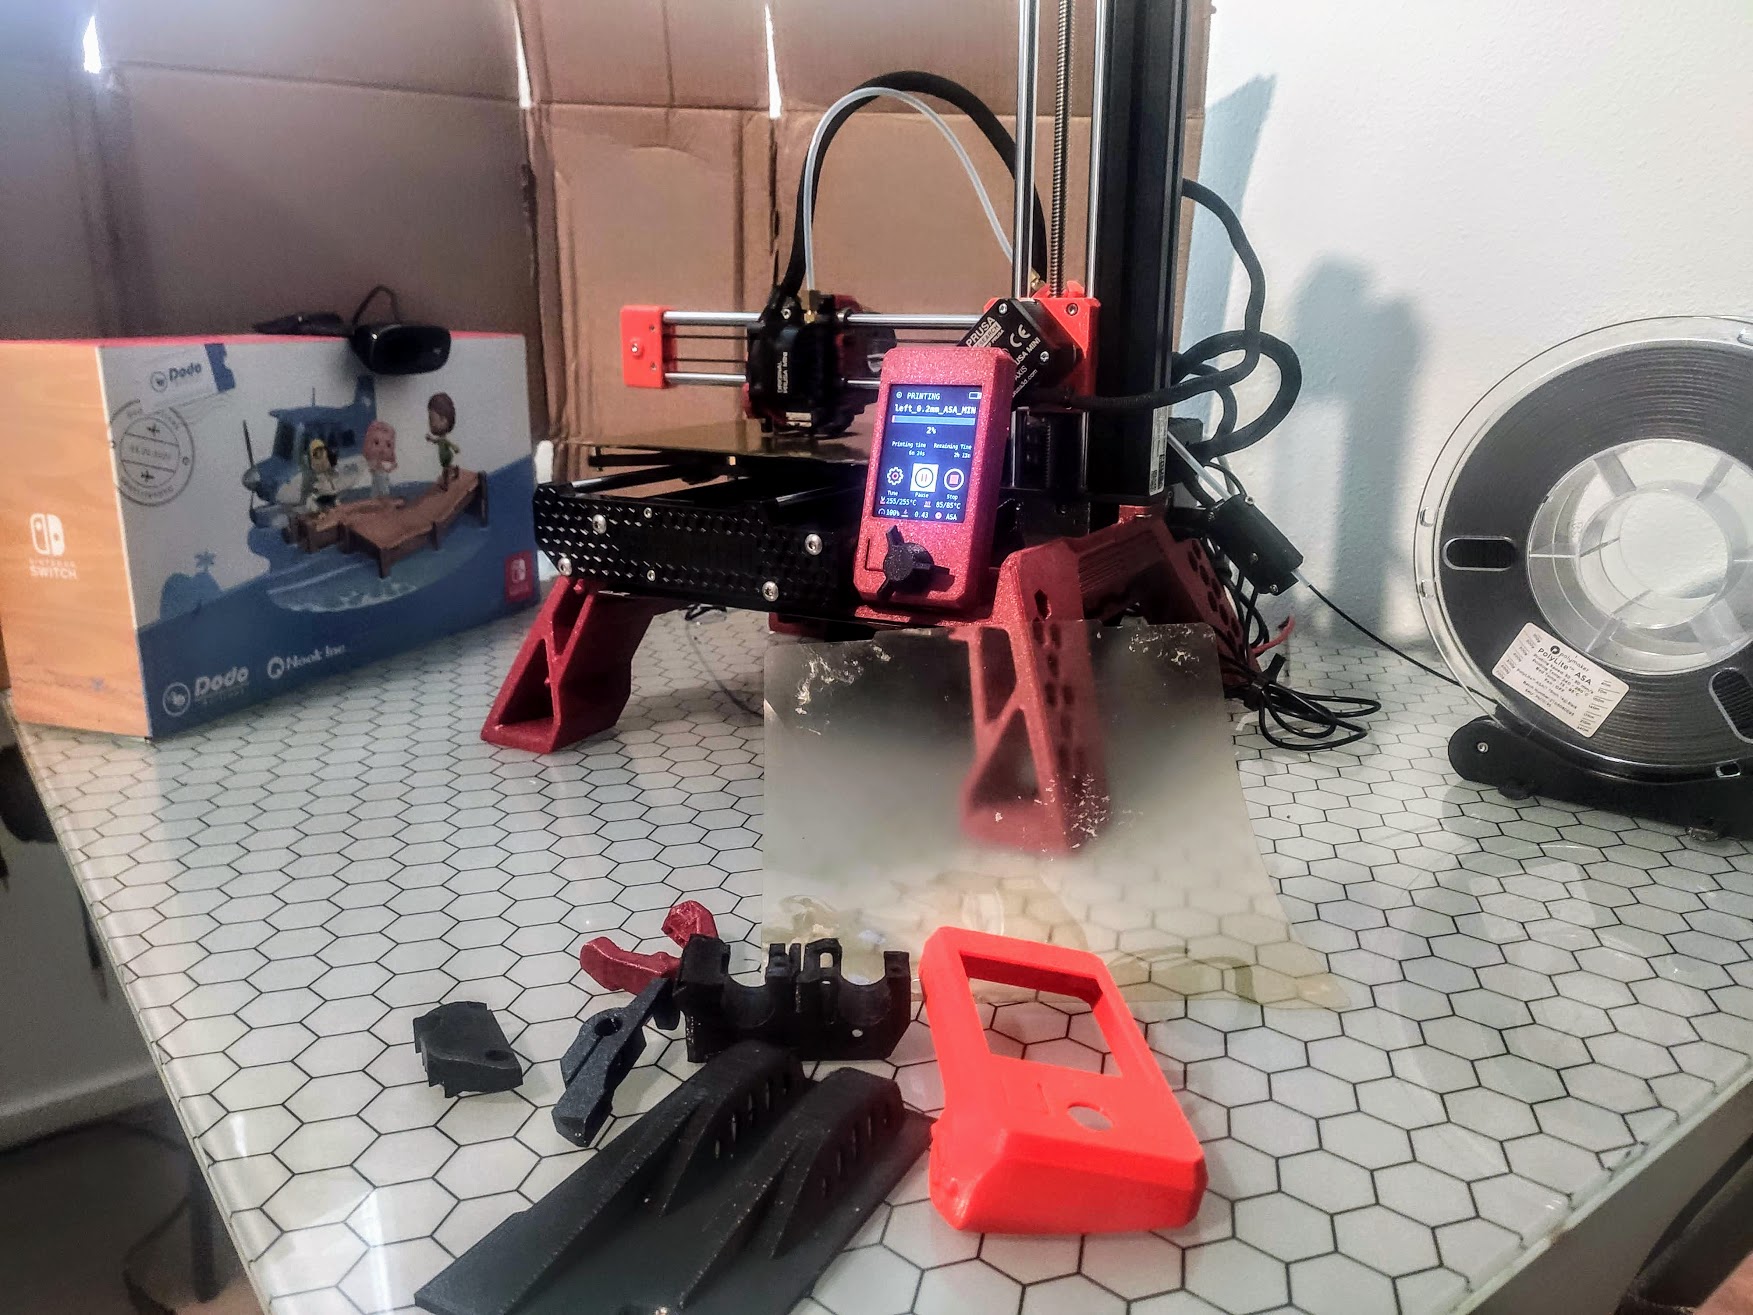
After thoughts
You can see the list of parts I don't use in front of the printer. The stock cooling bracket, the top of the electronics cabinet got replaced by the pi case, the Super Pinda mount was replaced on the new cooler, and the stock orange screen was replaced simply because I needed another test print for PETG, and it matched slightly better. I need to get a better way to mount my camera as opposed to a Nintendo Switch box, but it did the job while I look for something to print. If you have any other mods that you recommend that are printable, let me know and I may try them out. If I do, I'll be sure to update this page to include other mods.