Why you absolutely want to try this.
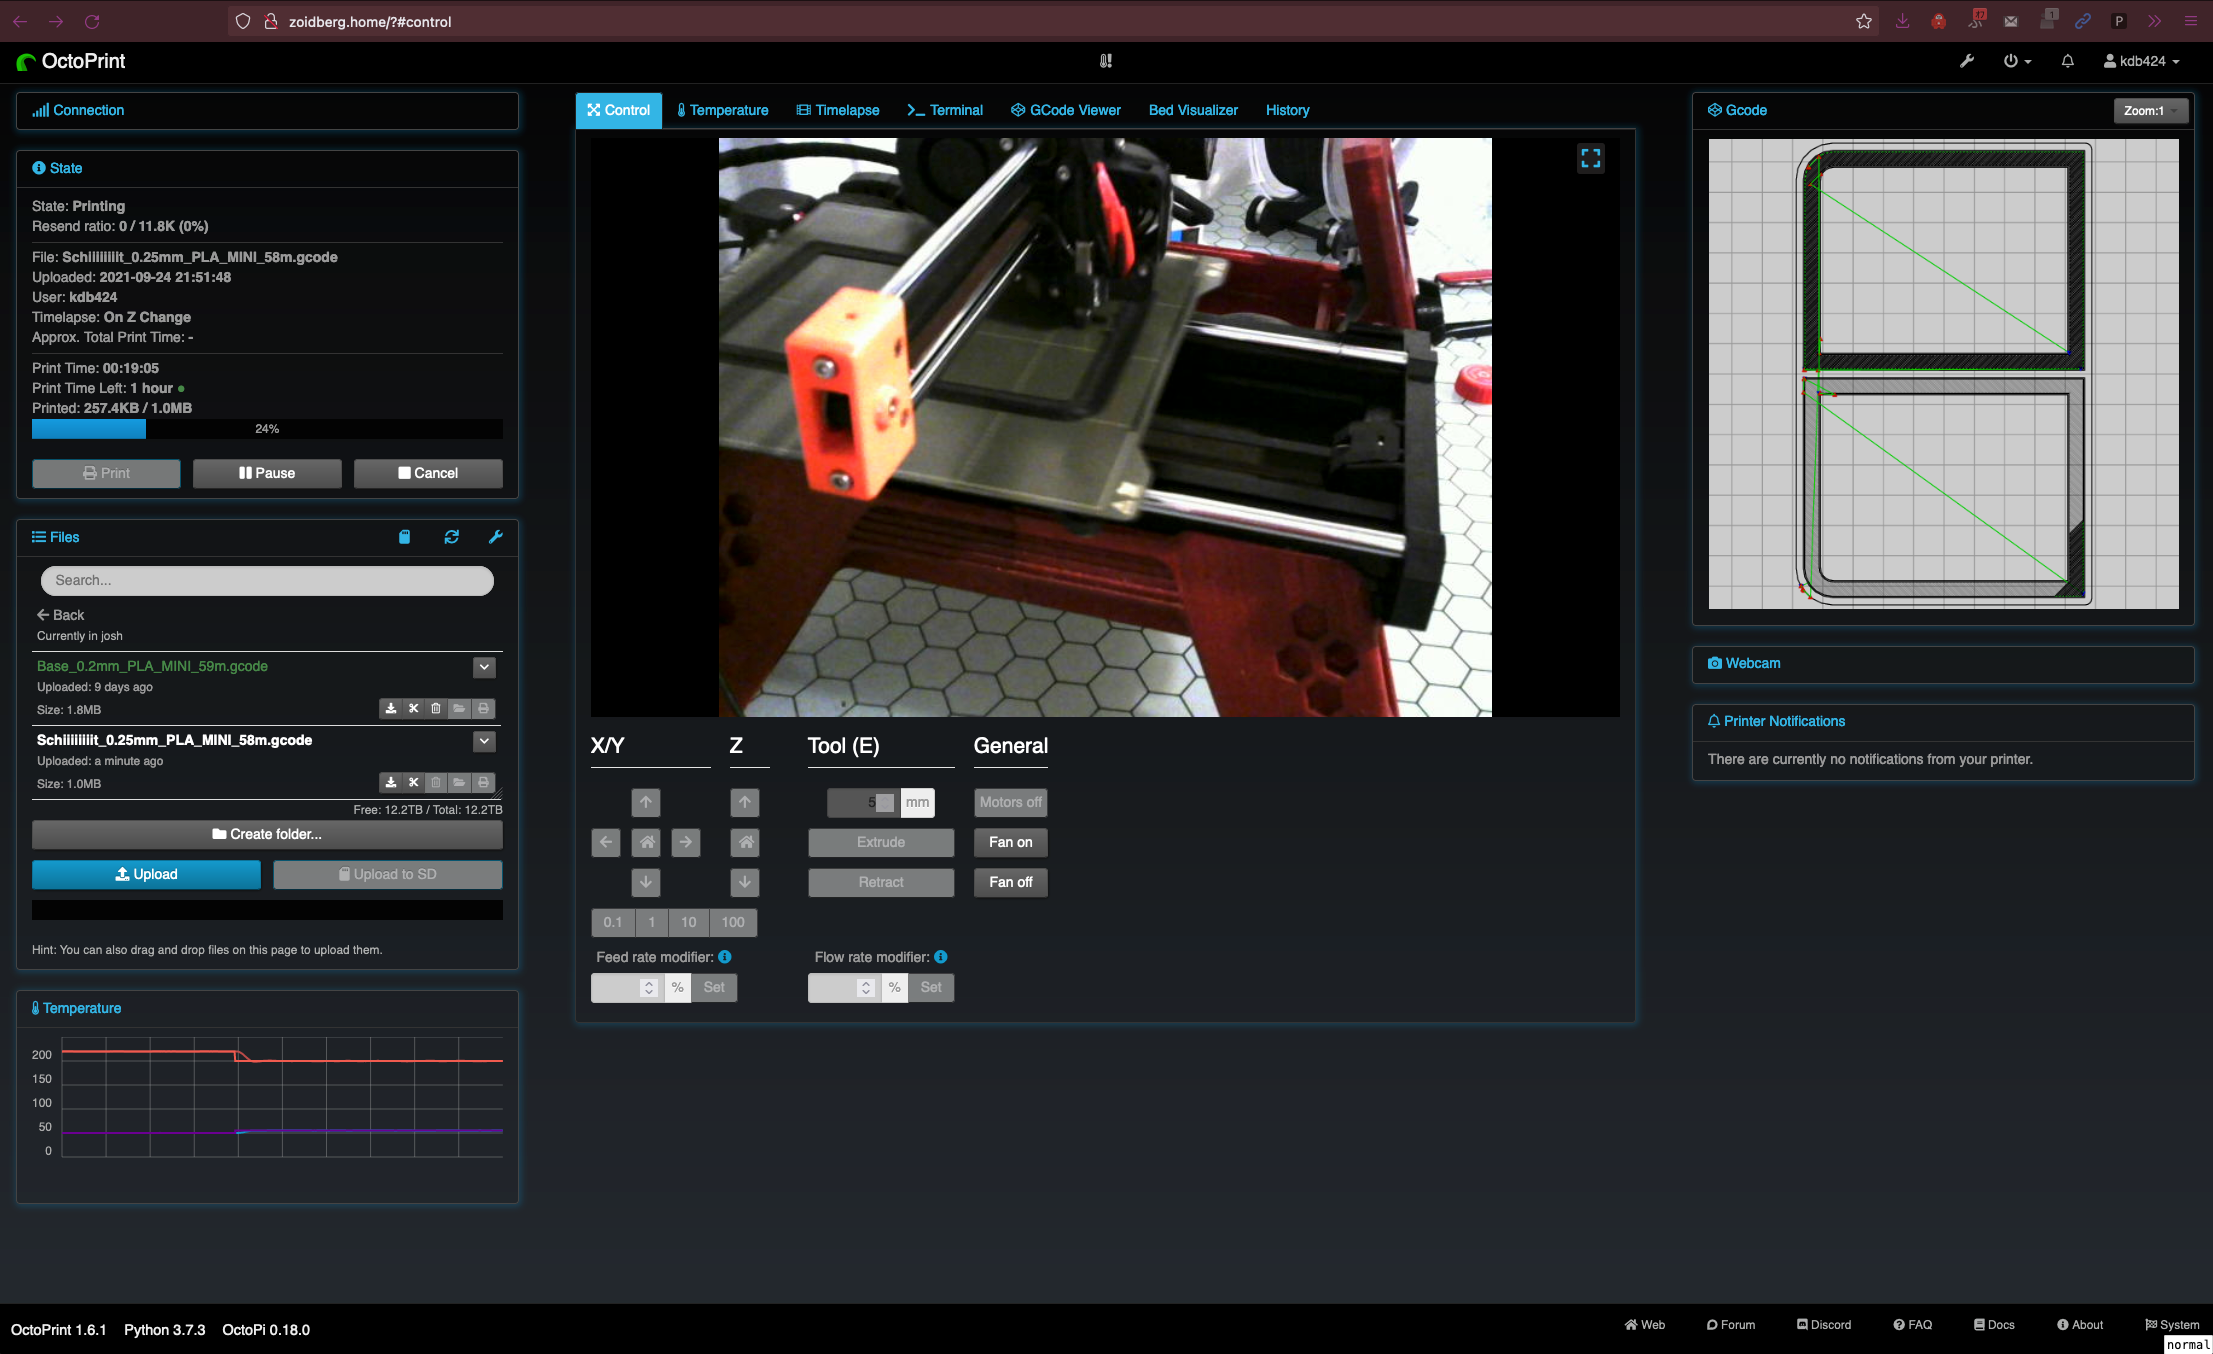
Octoprint is a simple concept. It's a web server that gives you control of your printer. This could be useful if you don't have a screen, but it can do a lot more than just print a gcode file. I'll touch on a few features of octoprint that make it compelling to many users.
Send a print directly from a slicer
Many modern slicers such as PrusaSlicer, SuperSlicer, Slic3r, ect all have the ability to communicate directly with octoprint. This saves the hastle of moving a flash drive around, and trying to remember what settings were in the gcode if you may be using a different filament than you were before. No need to wonder any more. Just slice, and send it over!
Instructions for PrusaSlicer and SuperSlicer can be found here